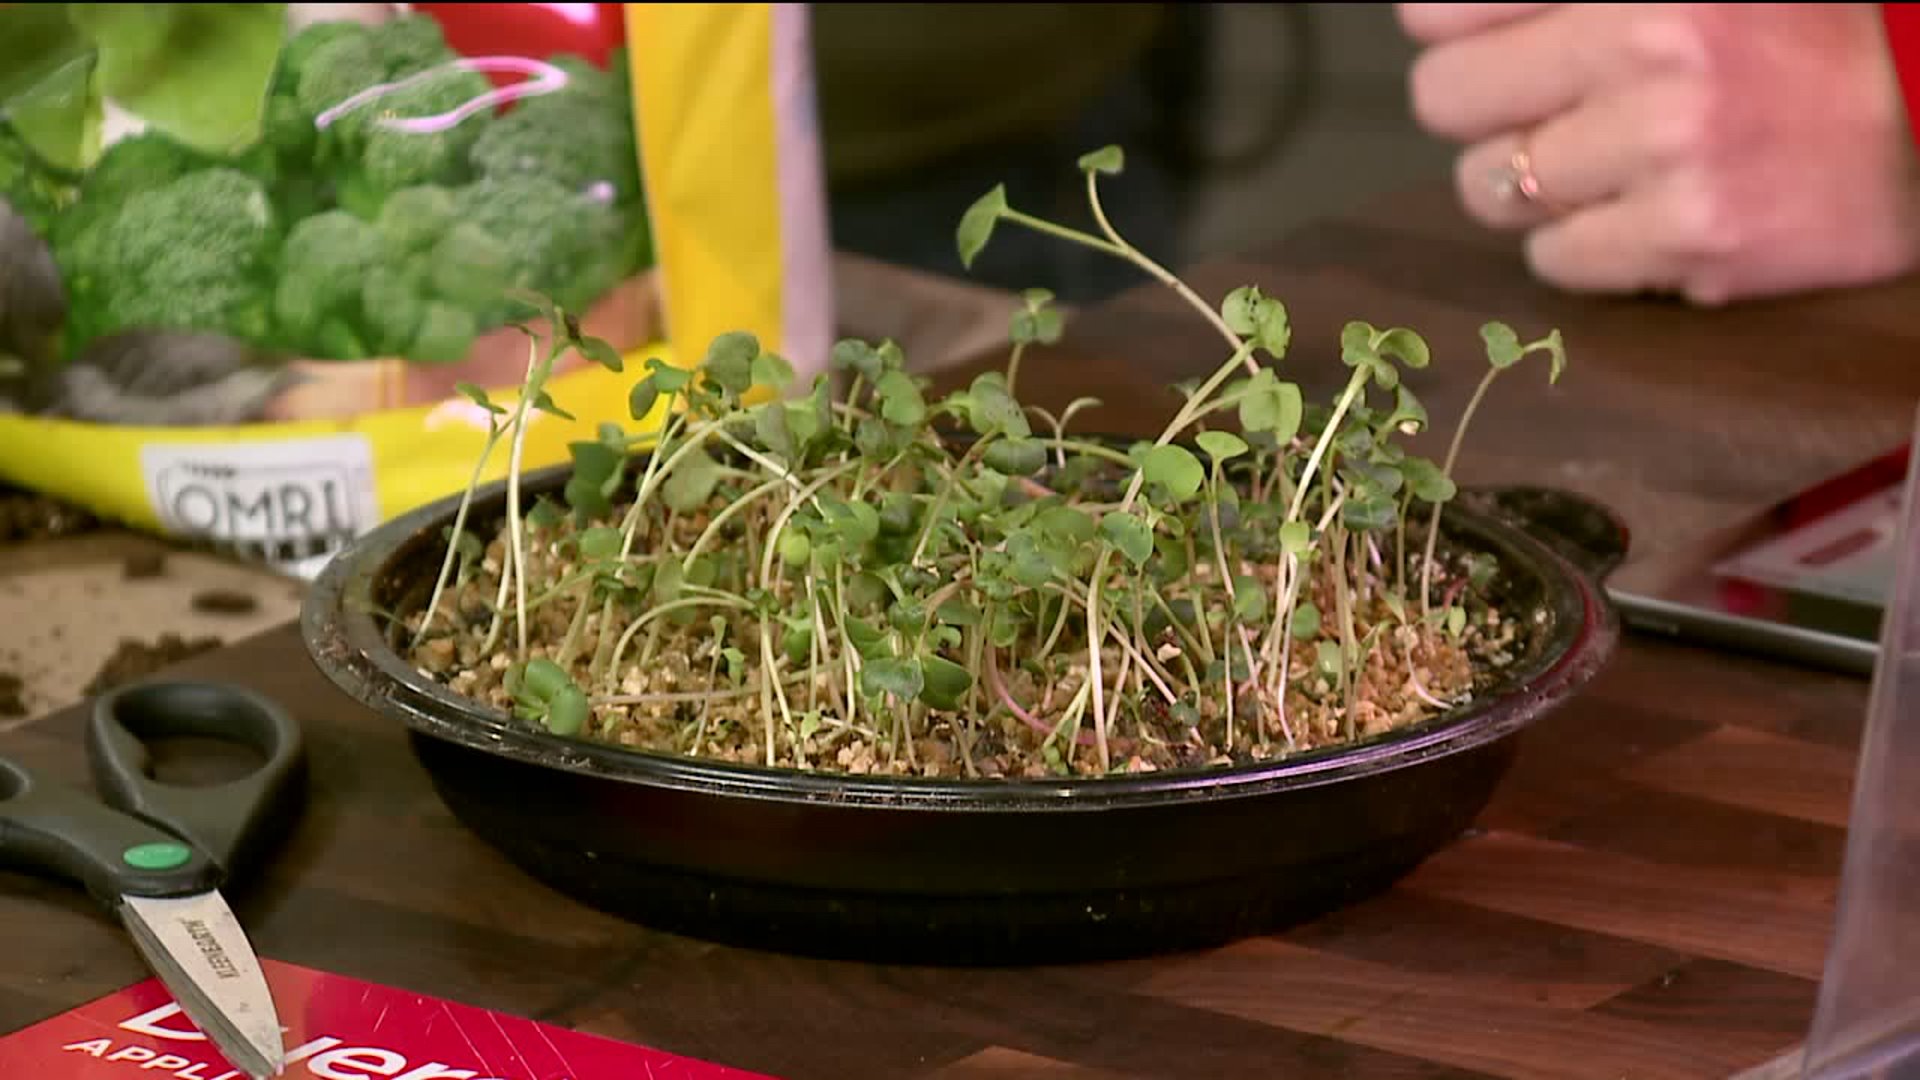
Spice up your food, your health, and get your gardening fix by growing microgreen.
Helen Muntz with Utah State University Extension and is showing us a simple way to grow food all year long with microgreens.
Microgreens are a great and simple way to enjoy winter gardening while satisfying your cravings for fresh greens and adding a little extra spice and nutrition to your meals.
Microgreens are highly nutritious and flavorful seedlings that are fast and easy to grow.
Microgreens contain between four and 40% higher vitamin content than matured greens.
If you have ever eaten microgreens, whether store-bought or as a part of a dish at a high-end restaurant, you probably already know that they are expensive. Growing them at home is much more economical and fun.
What You Will Need:
- Potting soil
- A container
- A cloth, container lid, or dome
- A spray bottle
- A heat mat
- Florescent light with chains
- Plant rack
Choosing a Container:
- Microgreens can be grown in a variety of containers.
- You can use an old seedling tray, which you might have laying around in your garage, or you can purchase a seed-starting kit. You can also make your own tray using Tupperware or even plastic to-go containers.
- Microgreens will grow nicely in shallow containers, and the more shallow the container, the less soil you will need.
Soil:
- Use regular potting soil with peat moss and pearlite. I also like to add a little coconut coir to lighten the soil and hold moisture.
- Dry soil can be difficult to re-hydrate so be sure to moisten your soil before you plant your seeds.
- Fill your container with soil leaving only a little bit of space between the soil level and the top of your container, this will make it easier to cut your microgreens when they are ready to harvest.
- Lightly pack the soil.
Adding Seeds:
- Sprinkle your microgreen seeds over your soil going back and forth across the container so they are evenly distributed. Microgreens are planted densely, you can use between one and three tablespoons of seeds per container depending on seed size and container size.
- Gently push the seeds into the soil with your hand or lightly cover them with coconut coir or vermiculite.
- Since the soil is already moist, you can water your seeds using a spray bottle, so that they do not wash away.
- Now cover your seeds so that they stay moist. You can use plastic wrap, container lids, or a moist towel. You can also stack your trays to hold in moisture and place a cover on the top tray.
- Be sure to remove covers, or unstack trays once the seeds have germinated (about 1-3 days after planting).
- Most microgreens take seven to fourteen days from planting to harvest. Consider planting one to three trays each week, depending on how much your family will use. That way, you can enjoy a continual harvest.
Location:
- Place your trays in a warm, sunny location.
- Metal racks or plant stands work nicely for indoor gardening.
- If you do not have a window convenient, consider using fluorescent lights.
Harvest:
- Harvest microgreens when they are about two inches tall and have at least one set of true leaves. True leaves are the second set of leaves that develop after germination.
- Microgreens have a very short shelf life, so plan to use them soon after you harvest.
- If your seedlings have grown larger than three inches, you can still harvest them. At a slightly more mature stage (4-6 inches), they are considered 'baby greens.'
For more information, visit www.usu.extention.edu


